I recently purchased a new NAS for my home network. My reliable ReadyNAS has been working flawlessly for the past 6 years and still going strong (if a little slow). As I really wanted a NAS that would support docker containers I was drawn to the DS916+.
So far everything has been easy to configure, launching docker containers a breeze and has generally been a great experience; apart from 1 little thing.
UPDATE: I no longer use the method defined below. Instead I have installed the Web Station package and allow that to serve the blank pages. This can also be combined with the Block Page PHP script if desired. (see: Running Pi-Hole inside Docker on Synology)
I want port 80 back please
If you are reading this post you probably already know that even though Synology DSM (disk station manager) by default uses ports 5000 (http) and 5001 (https) it still steals port 80 for it’s redirecting using Nginx.
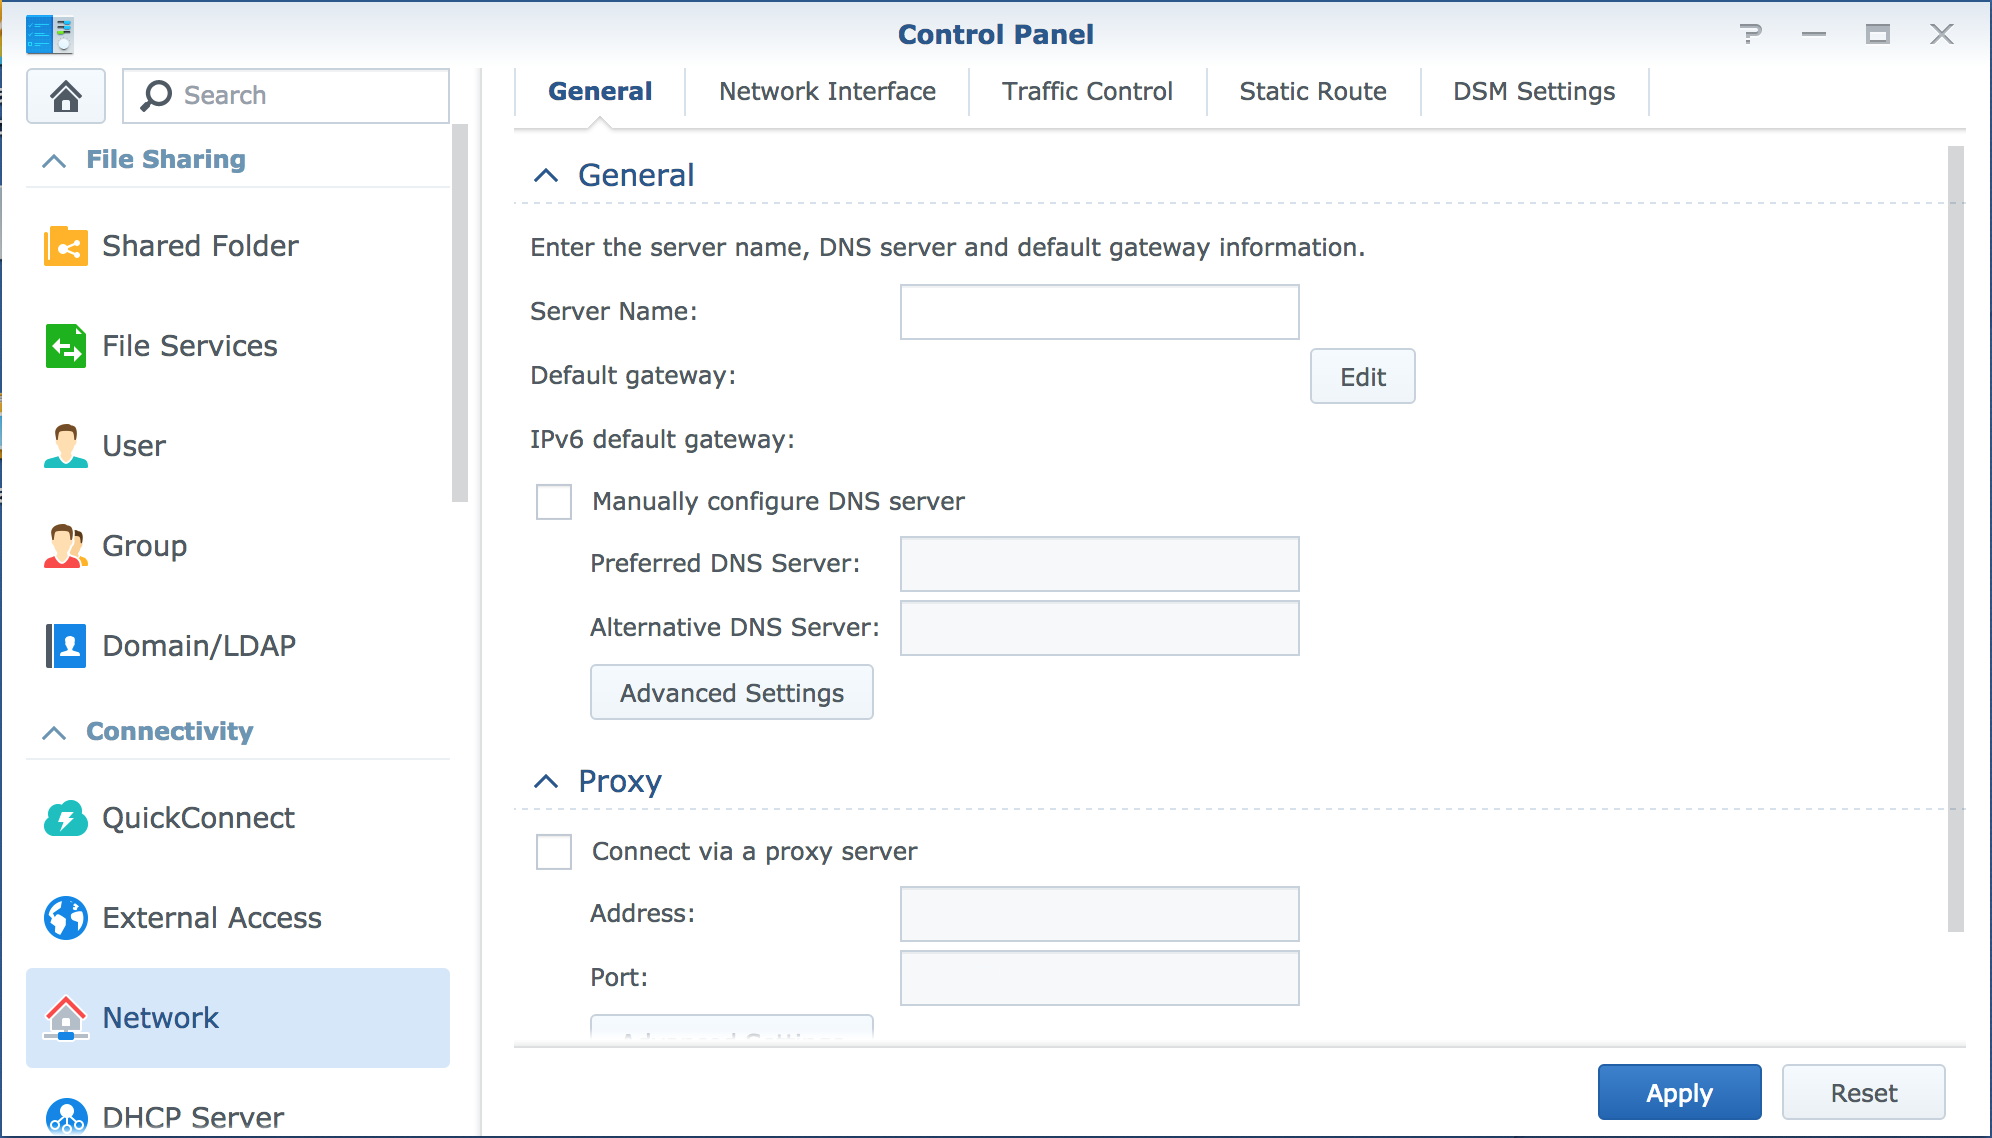
DSM ports can be changed (and is advisable) via the web UI.
So, after many searches and failures I’ve come up with a solution that will free up port 80 for your own uses and does not destroy your Synology. I’m not going to lie, you will need to ssh into your Synology, change a few system files and even maybe pray to your favourite gods, but in the end I hope you can sit back, smile and feel rewarded that you have gained back the power of port 80 from DSM.
Just a small note, the reason I wanted port
80for myself is that I run Pi-Hole as one of my docker containers and as it’s providing ad blocking via DNS then it needed to receive requests on port80to provide empty content to replace those annoying adverts.
Releasing port 80
First things to know is that all the configuration files for Nginx (the web sever DSM uses) are automatically created on every change via the UI. So if you modify them directly, next time you switch something in the UI you changes are lost. Damn! That’s not good. How can we stop this from happening.
Maybe if we change the source templates that are used by DSM to build the files it will then apply our changes every time. I like the sound of that.
I’ve done this on DSM 6.0 update 9. I don’t know if I will need to re-apply this change next time I update, only time will tell.
Ok, I’ve led you down this little route, the anticipation building and I hear you shouting “Where are these magical files?”. Ok, I wont keep you in suspense any longer. The files that we will be changing can be found under /usr/syno/share/nginx and are named:
server.mustacheDSM.mustacheWWWService.mustache
Mustache is a simple template language. Don’t worry, we don’t really need to understand this to do what we need to do.
So if you open one of the files in your favourite editor you will find a server configuration looking something like this:
server {
    listen 80 default_server{{#reuseport}} reuseport{{/reuseport}};
    listen [::]:80 default_server{{#reuseport}} reuseport{{/reuseport}};
    listen 443 default_server ssl{{#reuseport}} reuseport{{/reuseport}};
    listen [::]:443 default_server ssl{{#reuseport}} reuseport{{/reuseport}};

    server_name _;

    {{> /usr/syno/share/nginx/X-Accel}}
The headings here are listing the default secure (443) and insecure (80) ports used to listen on. It’s as easy as replacing the port 80 with what you would like. I’ve used port 81 however 8080 is also a good option.
server {
    listen 81 default_server{{#reuseport}} reuseport{{/reuseport}};
    listen [::]:81 default_server{{#reuseport}} reuseport{{/reuseport}};
Make this change in all 3 files replacing occurrences of 80 with your chosen port. Now what we have done here is changed the template used to generate the Nginx configuration files, not the configuration files themselves. So we now need to force a rebuild of these. There is probably a terminal command to do this but I have not yet found this out. What you can do is change any of the settings from the control panel UI and save. This will trigger the rebuild and restart of the web server. You can always change back the setting afterwards.
Congratulations, you have now freed port 80.
Don’t forget, if you were accessing DSM via port
80then you will have to update the URL with your new chosen port.
Forwarding port 80 to your docker container
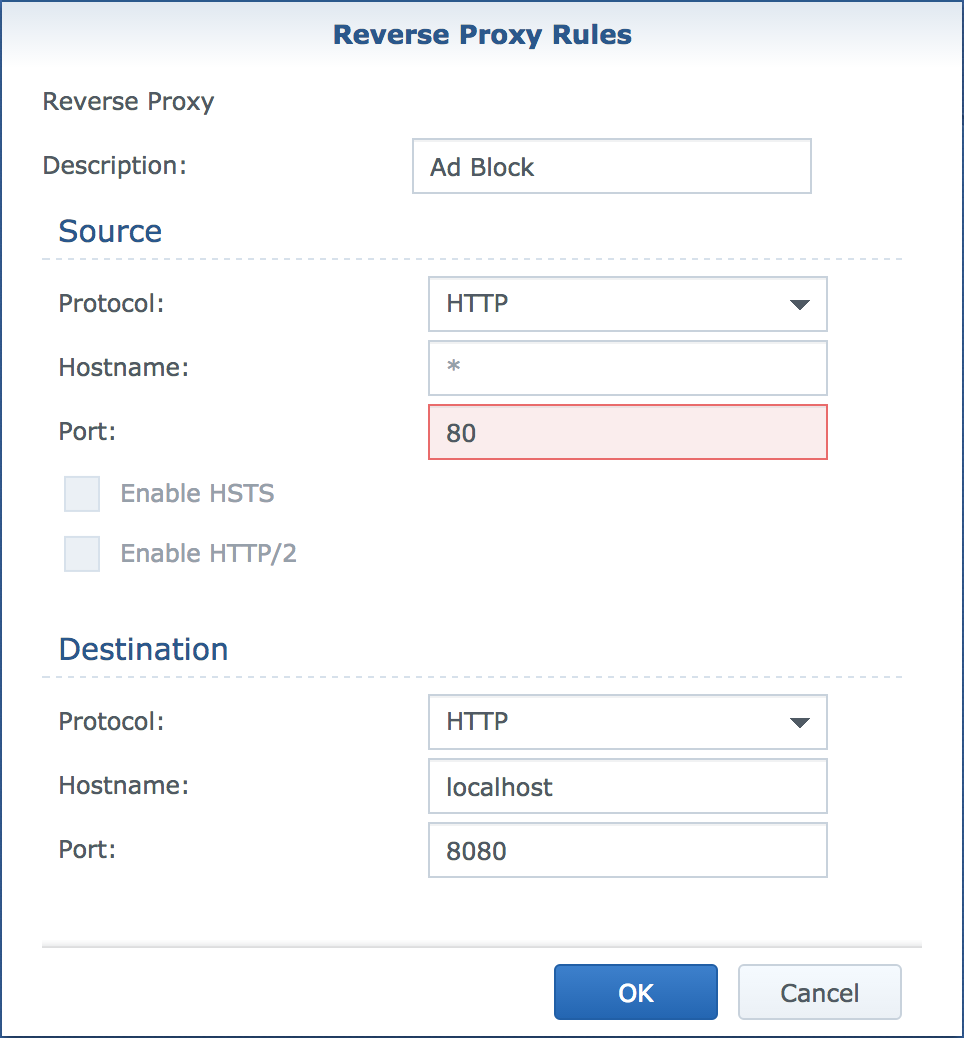
So now that you have port 80 to do with what you want, let’s set this up to forward all requests to a docker container. We can do this using the reverse proxy tab in the ‘Application Portal’ section.
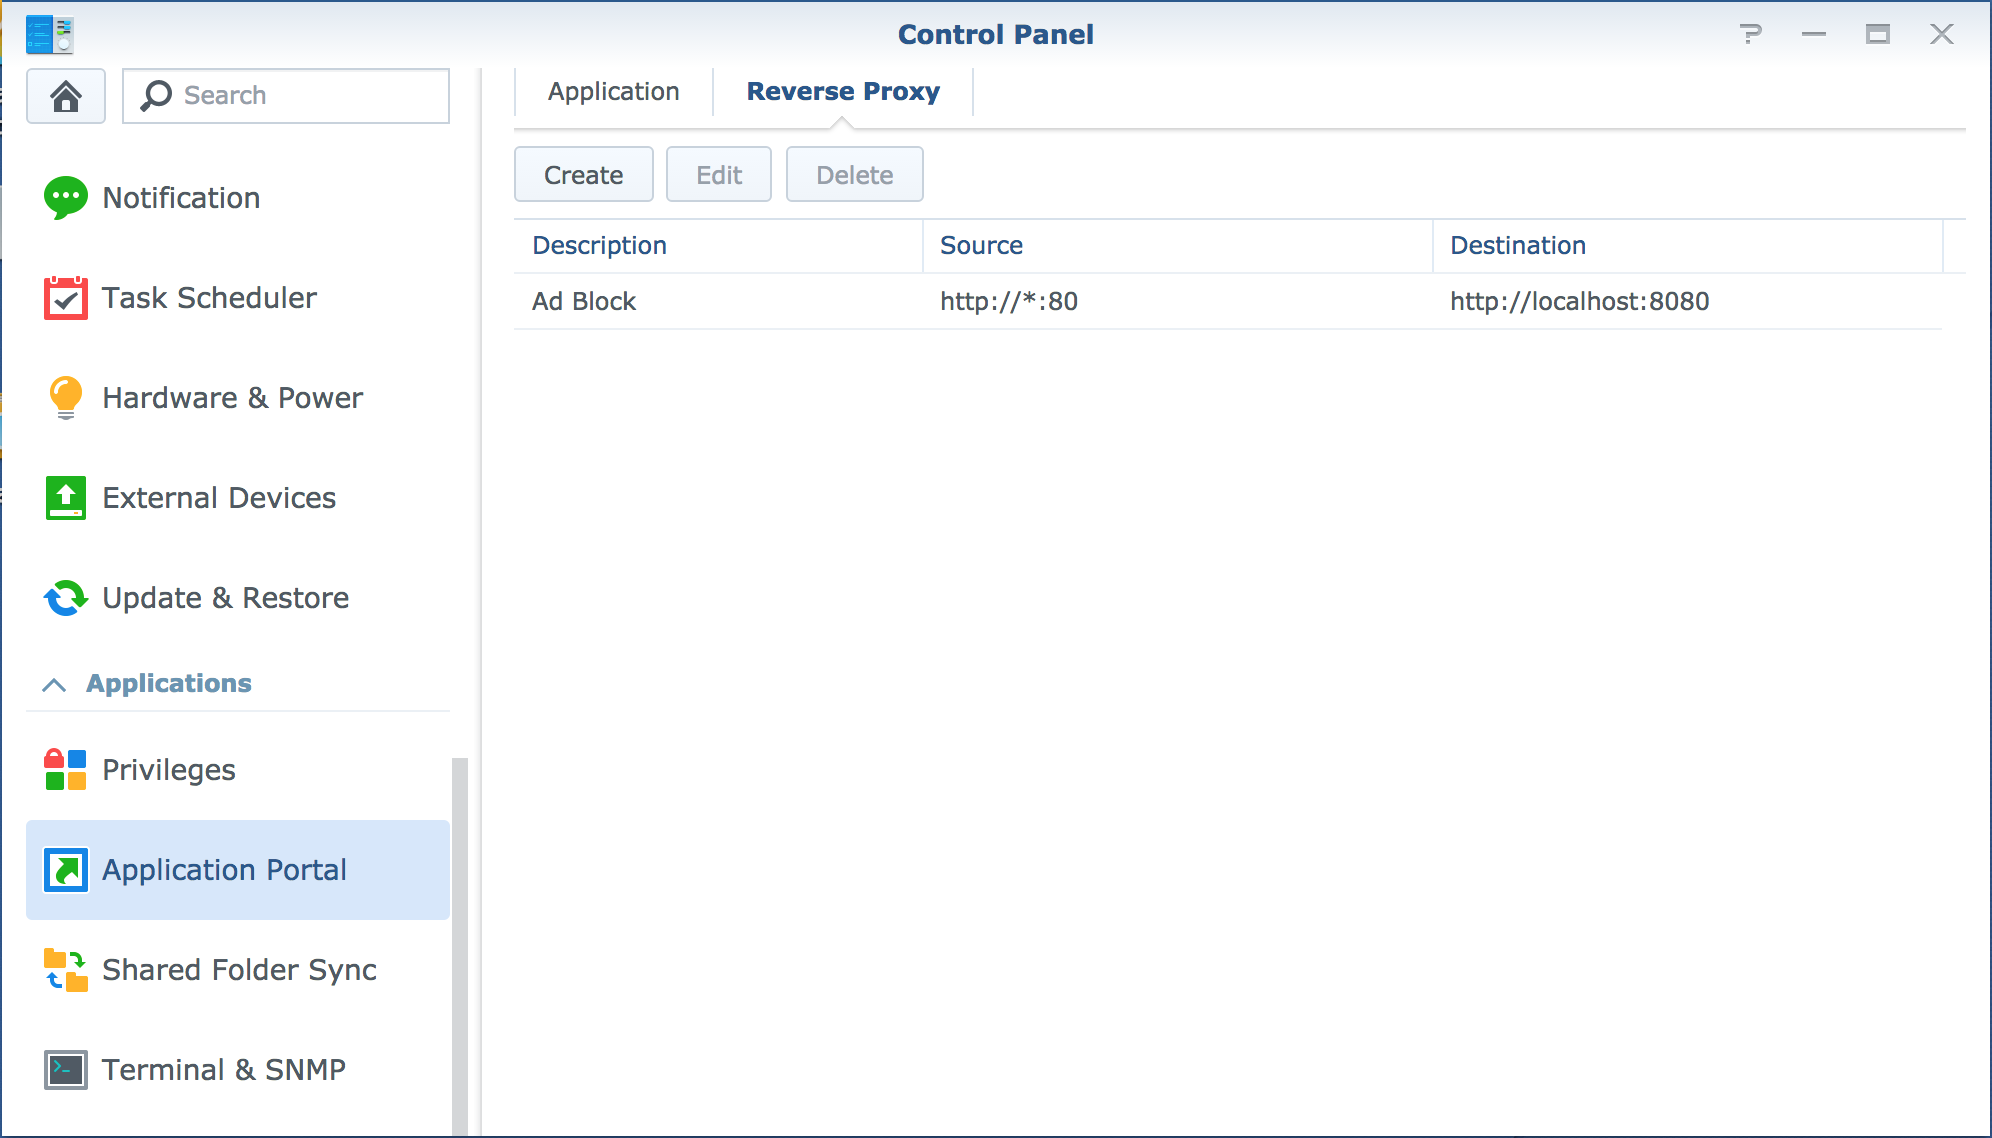
What I have defined above is a rule that all traffic that going to my Synology on port 80 will be forwarded onto port 8080. This port 8080 is then mapped in docker to my pi-hole containers port 80.
You may think it odd that I go from port
80to8080and then back to80. The reason for this is that the docker UI will not allow me to use port80.
Unfortunately it isn’t quite that simple. You see, Synology really do not want you using port 80 so they do not allow you to choose this in the UI.
So, the second “hack” we need to do is fix this. How I did this is by creating the rule above but with a different port 12345 and then manually updating the configuration file in a similar vane to above. The file in question is:
/usr/syno/etc/www/ReverseProxy.json
This file is just a json file, unfortunately is has no formatting at all so it’s not the easiest file to read. Here is mine (formatted so you can read it) and you can see that it shows port 12345 in the front end section. We can now change this to be 80 and save the file.
{
  "64e6f8f3-6161-4e05-801b-ddb02016a166" : {
    "backend" : {
      "fqdn" : "localhost",
      "port" : 8080,
      "protocol" : 0
    },
    "description" : "Ad Block",
    "frontend" : {
      "fqdn" : null,
      "https" : null,
      "port" : 12345,
      "protocol" : 0
    }
  },
  "version" : 1
}
If you have more reverse proxy rules then this file will be much larger
Next time your Nginx files are regenerated (any change to web settings) the new port number 80 will appear in the rules rather than 12345.
One more thing
This is just for the security conscious. If you run security advisor regularly and have it to check for modified files, you will see the following warning. Don’t worry, it’s not wrong as we have modified this file.
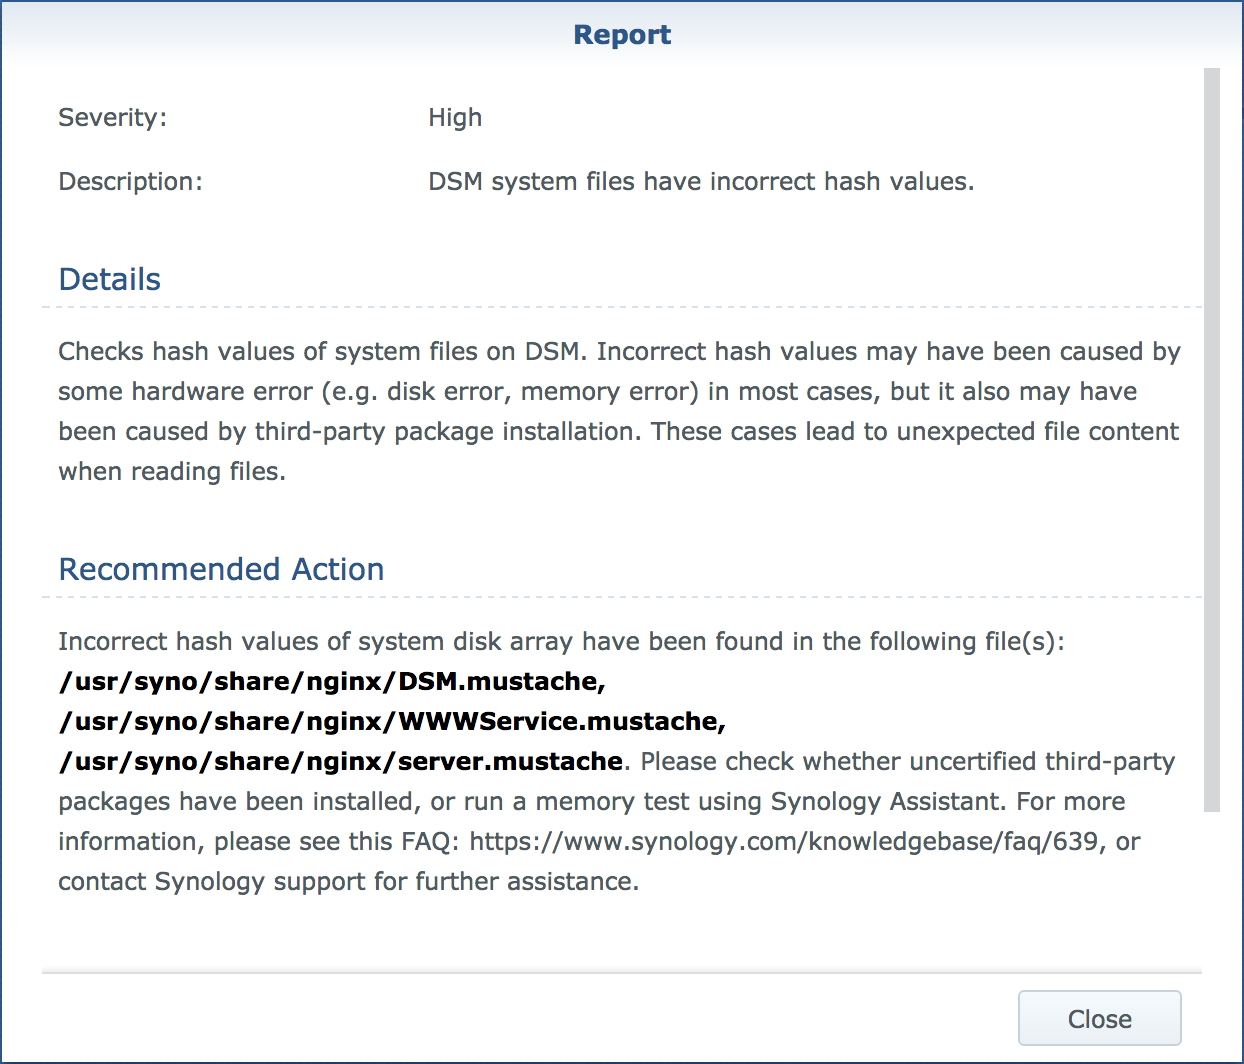
You can disable this check in the applications properties but I would strongly recommend that you don’t. For me I just ignore this warning.
Final thoughts
I hope you find this useful, I decided to document this a I did not find any solutions on the internet about this. I’m not suggesting this is the only way, or even that it doesn’t come with any drawbacks, but it’s currently working for me and has solved a nice problem.
If this works for you or you even know a better way, please leave a comment below.
Lastly, if you are editing system files please take care. I don’t want to be responsible for anybody losing important data or having to reset their disk station. If you are not sure what you are doing then please seek advice.